
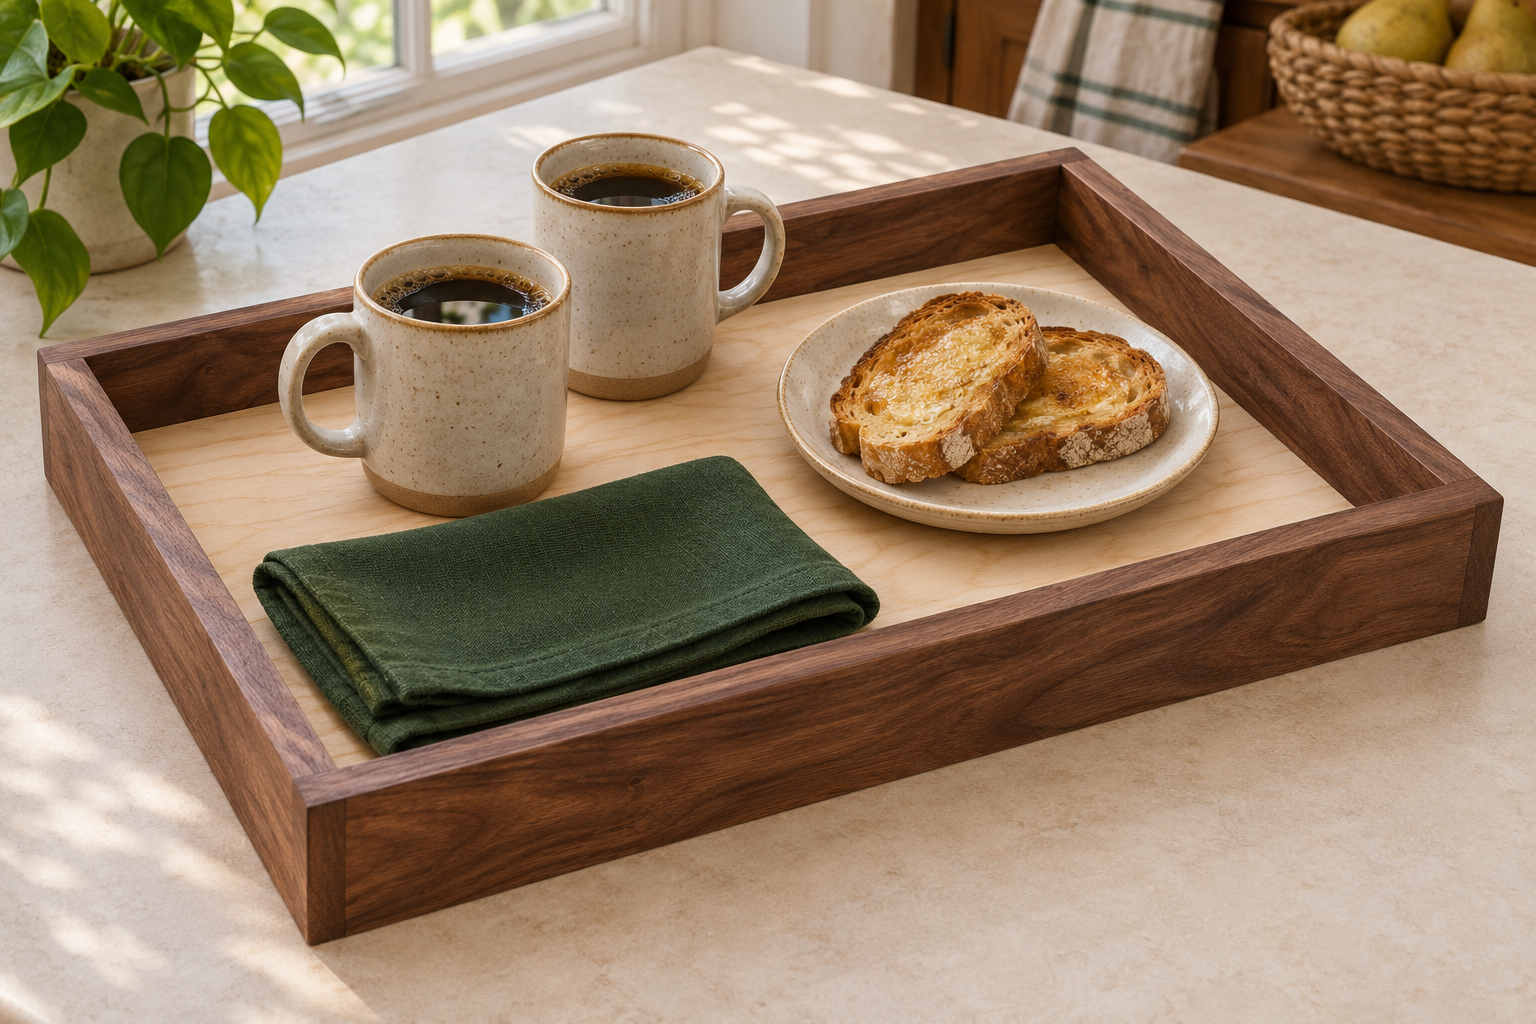
Design in development — not reviewed or build tested.
Materials and hardware
- One sound 18 × 12-inch offcut of actual 1/2-inch plywood
- Two 18-inch and two 10 1/2-inch lengths of sound hardwood, actual 3/4 × 1 1/2
- Wood glue; 14 #6 × 1-inch wood screws
- Furniture finish suited to occasional spills; use dishes or a removable liner for food
Required tools
- Circular saw with guide, or a handsaw with a square cutting guide
- Drill/driver, clearance and pilot bits, countersink and depth stop
- Clamps, square, tape measure and sanding block
Fit checks and limitations
Outside 18 × 12 × 2 inches; usable opening 16 1/2 × 10 1/2 inches. Check your dishes against that opening. Use a plywood base so seasonal movement does not fight the glued rim. A solid-wood panel needs a different attachment. Use clean, sound offcuts of known origin; exclude cracks, embedded fasteners and damaged plywood.
What you will build
Turn a plywood offcut and short hardwood strips into a tray for two mugs, a small plate and napkins. The shallow rim helps contain dishes on the table. Support the base with both hands when carrying; the rim is not a lifting handle.
Check the fit
- Outside 18 × 12 × 2 inches; usable opening 16 1/2 × 10 1/2 inches. Check your dishes against that opening.
- Use a plywood base so seasonal movement does not fight the glued rim. A solid-wood panel needs a different attachment.
- Use clean, sound offcuts of known origin; exclude cracks, embedded fasteners and damaged plywood.
Materials and tools
- One sound 18 × 12-inch offcut of actual 1/2-inch plywood
- Two 18-inch and two 10 1/2-inch lengths of sound hardwood, actual 3/4 × 1 1/2
- Wood glue; 14 #6 × 1-inch wood screws
- Furniture finish suited to occasional spills; use dishes or a removable liner for food
Tools: Circular saw with guide, or a handsaw with a square cutting guide; Drill/driver, clearance and pilot bits, countersink and depth stop; Clamps, square, tape measure and sanding block.
Cut list
| Part | Qty | Length | Width | Thickness |
|---|---|---|---|---|
| A — Plywood base | 1 | 18 in | 12 in | 0.5 in |
| B — Long rim | 2 | 18 in | 1.5 in | 0.75 in |
| C — End rim | 2 | 10.5 in | 1.5 in | 0.75 in |
Drawings and connections
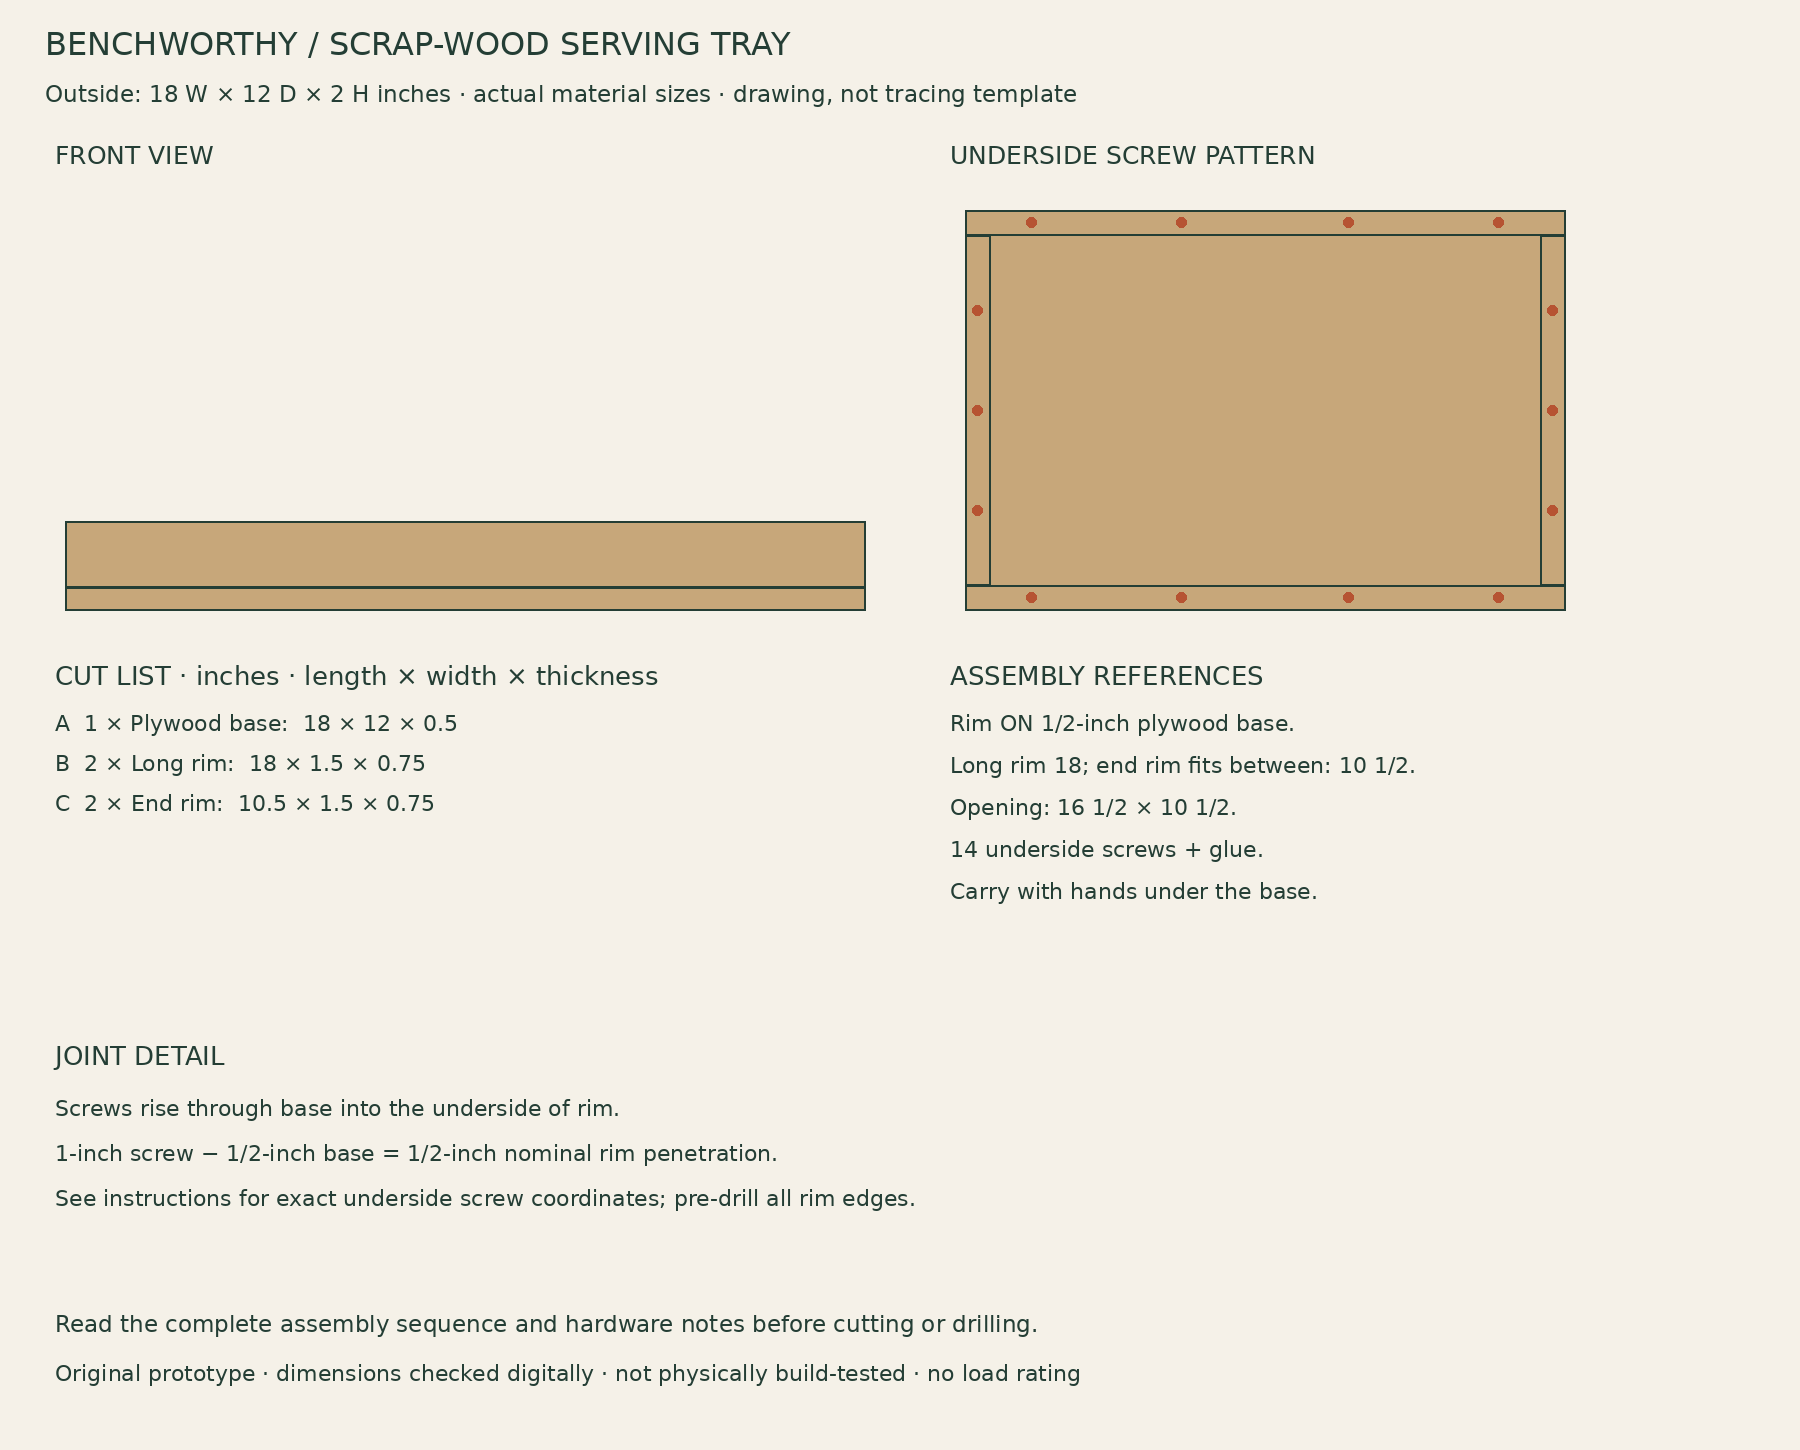
- Rim sits ON the plywood base, not around its edge. Long rails run full length; end rails fit between them.
- Glue the full rim-to-base contact. Drive screws from the UNDERSIDE into the rim after drilling clearance holes through the base and pilots in the rim.
- Long-rim screws: x = 2, 6 1/2, 11 1/2, 16; y = 3/8 or 11 5/8. End-rim screws: x = 3/8 or 17 5/8; y = 3, 6, 9. All measured from base edges.
- 14 #6 × 1-inch screws: 8 long-rim + 6 end-rim. Nominal penetration into rim is 1/2 inch; keep countersinks shallow and screw heads flush.
Assembly
- Cut and dry-fit. Cut the base square and match opposite rails. Set the long rails on the base edges, then fit the short rails between them. Check diagonals and the clear opening before glue.
- Lay out the fasteners. Mark the underside screw pattern in the joint notes. Drill base clearance holes. Clamp the rim in place, transfer the hole locations and drill depth-limited pilots in the narrow rim edges. Test on scrap first.
- Glue and clamp. Spread glue over the rim-to-base contact faces, assemble on a flat surface and clamp with pads. Drive the underside screws by hand or with a low clutch. Do not use screws to pull a twisted rail flat.
- Refine the surface. Allow the glue to cure as directed. Remove squeeze-out, ease the rim and base edges, and sand. Confirm the underside has no proud screw heads that could scratch a table.
- Finish and check. Apply the selected finish and allow its full cure time. Begin with unbreakable items on a low surface, check the base and joints, and support underneath with both hands. This design has no load rating.
Use and care
- Wipe spills promptly; do not soak or put in a dishwasher.
- Serve food on plates or a liner. This is not a cutting board.
- Inspect glue lines and screws; stop using it if the base separates or flexes excessively.
Build notes
This original plan has not been physically build-tested. Digital checks cover dimensions and part fit; they do not establish joint strength, load capacity or long-term performance. Check the actual materials and hardware, dry-fit before fastening, and stop use if joints loosen or parts deform.